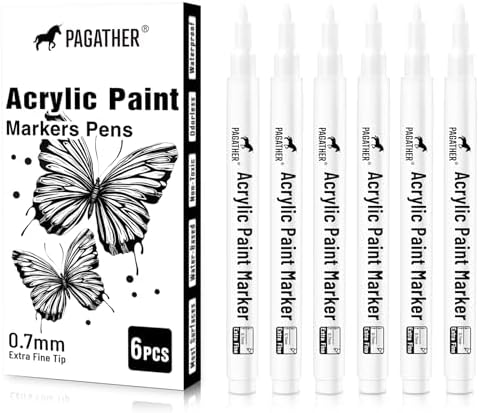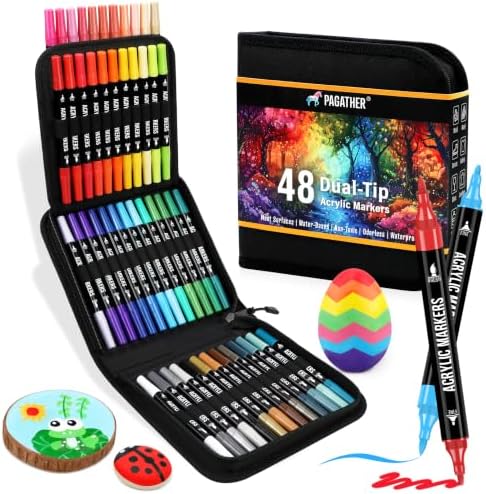
Acrylic Paint Markers, 48 Colors Dual Tip Fine & Brush Pens Set
$17.98
Let's paint together · dual-tip acrylic markers from one small studio

A painted rock is a promise to the weather. Here is how we prep, paint and seal so the promise holds.
Smooth beats interesting. A flat river stone with a fine grain takes paint in one pass; a porous chunk of granite drinks three coats and still looks thirsty. Wash the rock with dish soap, scrub off the dust, and let it dry completely. Paint over damp stone lifts within a week.
If the stone is dark and your design is colorful, lay a base first. One coat of opaque white over the design area turns the rock into paper. This is the single change that makes beginner rocks look professional, and it is why our white pens leave the shelf faster than anything else.
Fill the big shapes with the brush end first and let them dry. Acrylic sets fast on stone, usually within a couple of minutes, so this is a short wait, not a lunch break. Then switch to the fine end for outlines, dots and lettering over the dried fill.
Layer light over dark where you can. A white or yellow detail over a deep blue fill stays crisp. The reverse tends to need two passes.
Indoors, dried acrylic holds on its own. For garden rocks and hide-and-seek rocks, add a clear outdoor sealer, brush-on or spray, after the paint has cured for a day. Two thin coats beat one thick one, which can pool in the lettering.
One box of color and the white pens that make it read on stone.